Showing posts with label DIY. Show all posts

Tuesday, August 18, 2015

My new $10 nightstand...


As soon as I had my new bed I realized I needed a new larger nightstand.  In my dream world where money is no option I would like this...
 ...found on 1stdibs... or even this...

             ......also on 1stdibs...`

....but those are completely out of my budget, actually most things are out of my budget since I spent all my money on my new bed.  So while visiting the local Habitat for Humanity store with my mom one afternoon I spotted this...


...best part, it was only $10.  Hello new nightstand!  I went out to pick up some white/cream chalk paint but was distracted by this beautiful color...


My room is slowly becoming quite eclectic and colorful....and I love it.


I painted it right away but couldn't figure out what to do with the feet.....


They were wrapped in bronzey/brassy metal that I really liked but one side for sure, and maybe both, had to be replaced.  I thought about it, researched it, and after a while came to terms that I didn't have the tools or the skills to do this right now.  So I ripped all the metal off, sanded down the wood, and painted it gold to match my lamp.  The only thing left to do is cut and paint a piece of wood to replace the shelf that used to be there, but that can wait a little longer....


Saturday, June 13, 2015

Lamp Makeover

I have been slowly giving my bedroom a makeover...slowly.  I painted, then I got a new bed, I'm working on a new nightstand for my side of the bed (which I'll show you at a later date), and I recently gave my lamps a much needed makeover.


The other day I was telling my friend about my lamp makeover and she was all.."you know you can get really nice lamps for a good price at Homegoods".  The thing is these lamps actually came from Homegoods a couple years ago.  They were really nice and I still liked them, but they just didn't make sense in my room anymore.  I thought about getting new ones and started shopping around a little but just didn't want to spend any money.  I was willing to spend $5, $10 tops and yeah, it's just not possible to find a lamp or new lamp shade for that price.  Even if I did buy new lamps what would I do with the old ones?  So I had to find away to fix these guys up a little .  

So I started with buying a new socket from Amazon.  When shopping around I noticed all the lamps I really liked had a pull chain and it really does make turning the light on and off from bed so much easier.  This was actually the only thing I purchased,  I found everything else in my craft room, so I was pretty happy with myself.


While we had the lamp apart to put on the new socket I painted all the silver pieces gold.  I used some gold Royal Stencil Creme that I already had from a previous project and it worked wonderfully.


Next I had to tackle the lamp shade.  It seemed simple enough in my mind and I came up with a game plan, but things came apart quickly.  


I started out taking the fabric off and I thought it would be sooo easy.  Just peal the old fabric off and glue the new one on and done.  Unfortunately like I said, things came apart quickly....


Yikes!  So I just started slowly and carefully putting everything back together.  First I used some spray adhesive to stick the new fabric on to the old lampshade.  


Then I slowly hot glued the top metal frame on to the lamp shade.  This was actually easier than I thought it would be.  Just remember to leave a little bit at the end unglued so you can slide in the bottom hoop and glue that into place.


Next I cut a couple strips of fabric and glued them over the edges to hide the metal hoop.  Also this paint can opener has become my best friend when it comes to hot gluing things, it's like an extra finger that doesn't burn.  


Right about now Leo and I let out a huge sigh of relief, it was finally starting to look like a lamp shade again.  


The only thing left to do was add a little trim to the top and bottom to hide all the seams.  I used the same white fabric and ironed it into pretty little strips, then glued it on with fabric glue.


So happy that worked out.  Not gonna lie, I had my doubts, but it wasn't that bad and I love my lamps again. 


Monday, April 27, 2015

How to get wrinkles out of Restoration Hardware's Vintage Velvet...


Well, I finally broke down and bought a new "grown-up" bed and it's about time considering I have had the same bed since I was a senior in high school.  I have a hard time buying new furniture especially if it's a big purchase.  I strive to buy the perfect piece which for me means the following things... 1) I have to absolutely love everything about it, no settling 2) It has to be made well enough to last 3) I have to have a vision for it in the future, will it still work when I change my style in a few years?  4) I'm not made of money so I have to be able to afford it, i'm willing to save up for it, but not take out a loan...

So because of all these issues it takes me a little bit, some times years to find the perfect piece of furniture, but when I do it's always worth it.  So here it is my new bed! It is the Chesterfield Fabric Sleigh Bed in Sand Vintage Velvet from Restoration Hardware


Okay, so maybe the picture is more about my boys than the bed, but they are just so cute! 

Now on to the real point of this post...

When you order this bed you pick the fabric so it is a custom order and takes forever.  I waited over 3 months for this baby to show up so when it did I wanted to keep it.  Unfortunately once the delivery guys set it up I noticed this...


Ahhh! Wrinkles! My beautiful vintage velvet fabric was all messed up with what looked like permanent wrinkles and creases from the packaging materials.  I was annoyed to say the least.  I emailed Restoration Hardware since they are normally great about handing any issues you have.  I was hoping they would just say that with time the wrinkles would go away and this was normal or some nonsense like that.  Instead they wanted me to exchange the bed...what!? No way was I waiting another 3 months..oh I can keep this bed until a new one shows up?...Nope still not doing it. I don't want to deal with the delivery of a new bed again.  They then offered to pay for the bill if I want to hire an upholsterer to come to fix it or I can keep it like this and they will give me some money back.  After some research on how to get wrinkles out of velvet I chose the third option and took the small discount/refund and then went to work.  I refused to believe this was that hard to fix and I was right. 

This is all it took:

I used a spray bottle and lightly sprayed some water on the wrinkles, the water bubbled up at first so I rubbed it in then immediately dried it up with tissues. 

I kept doing this, spraying, gently rubbing, and patting with tissues.  I went through ALOT of tissues.

Once the wrinkles were pretty much gone I used a hair dryer on medium heat on the fabric and gently rubbed the fabric to completely dry it and fluff up the velvet. 


Of course I tested this first.  I had scraps of some of this same fabric I used on a chair and after it worked on that fabric, I then tested a small spot on the bed behind the headboard.  Once I was positive I wouldn't ruin the bed by spraying water on it I went to work.  

The trick is to not get it too wet and to not let the water sit for too long.  You need to make sure it dries with blow dryer and drys all fluffed up.

These wrinkles ran down the entire length of the foot board and it took me a good hour to get them out.  But, they did come out and the bed looks perfect.  I did receive a few hundred dollars back which more than compensated me for that hour, so to me it was worth it.


Tuesday, April 7, 2015

Expanding my Garden in the Desert

I wanted to share with you my "garden" progress...

raised beds


A little while back I shared with you my plan/dream for some raised beds...


My growing space has been very limited and I was only using pots around the yard and these large planters.  Ever since we moved here our yard has been a work in progress and every year we add and improve.  This year we built some raised beds and I am so excited about them.

We wanted to spend as little money as possible, make them as eco friendly as possible,  but still make them strong enough to last a good while.  So here is what we came up with...

First we took a little trip to Home Depot.  Well, we actually we started off at Lowes, but they were unable to cut our wood for us.  Apparently they can only cut wood that is 1" thick or less, so boo on them and good to know for the future.

We were super happy to find the wood we wanted, and that we were able to have it cut to any length we wanted at Home Depot.  We picked up 8- 2" x 12" x 10' boards and had them cut in half.  We also picked up a couple 2"  x 2" x 10' boards and had them cut down to fit in our car.


We used the smaller boards for corner pieces and screwed everything together.  The boxes ended up approximately 5' x 5'.  

Next I painted everything with Raw Linseed Oil.  I bought natural untreated boards because I didn't want any chemicals seeping into the soil, but I was worried they wouldn't last very long.  So after some research I decided to use an old method of wood protection,  Linseed Oil.  Raw Linseed Oil is Flaxseed Oil which they sell in the vitamin section, so I figured it was pretty safe.  I bought the raw untreated version because there are some linseed oils out there with chemicals in them so that they dry quicker.  So make sure you read the labels before buying.  This oil does take along time to dry, but since I live in a desert I wasn't worried.  I left them to dry in my garage for about a week and after that they were still slightly greasy, but I'm not sitting on them or anything so it didn't bother me.  I just brushed it on, it's basically like painting on olive oil.  

Raw Linseed Oil for raised beds

Once they were somewhat dry we moved them to the backyard and into place.  We quickly discovered our yard was not as level as we thought, which is probably our fault.  So we just dug out some dirt under the high parts until everything was level.  

Here is Leo inspecting the new beds...


Now we were finally ready for some dirt!  I was so excited until I realized how stinking expensive and heavy dirt could be.  We ended up buying the cheapest dirt we could at our local nursery and just amended it ourselves.  

desert gardening

I could not wait to get some of my plants and seeds in...

desert gardening

 I still want to make this area a little prettier.  First I want to remove the grass between the beds because I feel that will be a nightmare to keep mowed.  Then this fall I want to add an olive tree to the middle for something nice to look at.  I think this summer will pretty much be one giant experiment.  Each box gets a different amount of sun so I still need to figure that out and figure out how much I can fit and grow in each.  Hopefully I will only have good updates this summer, but you never know.  Fingers crossed!


Thursday, February 19, 2015

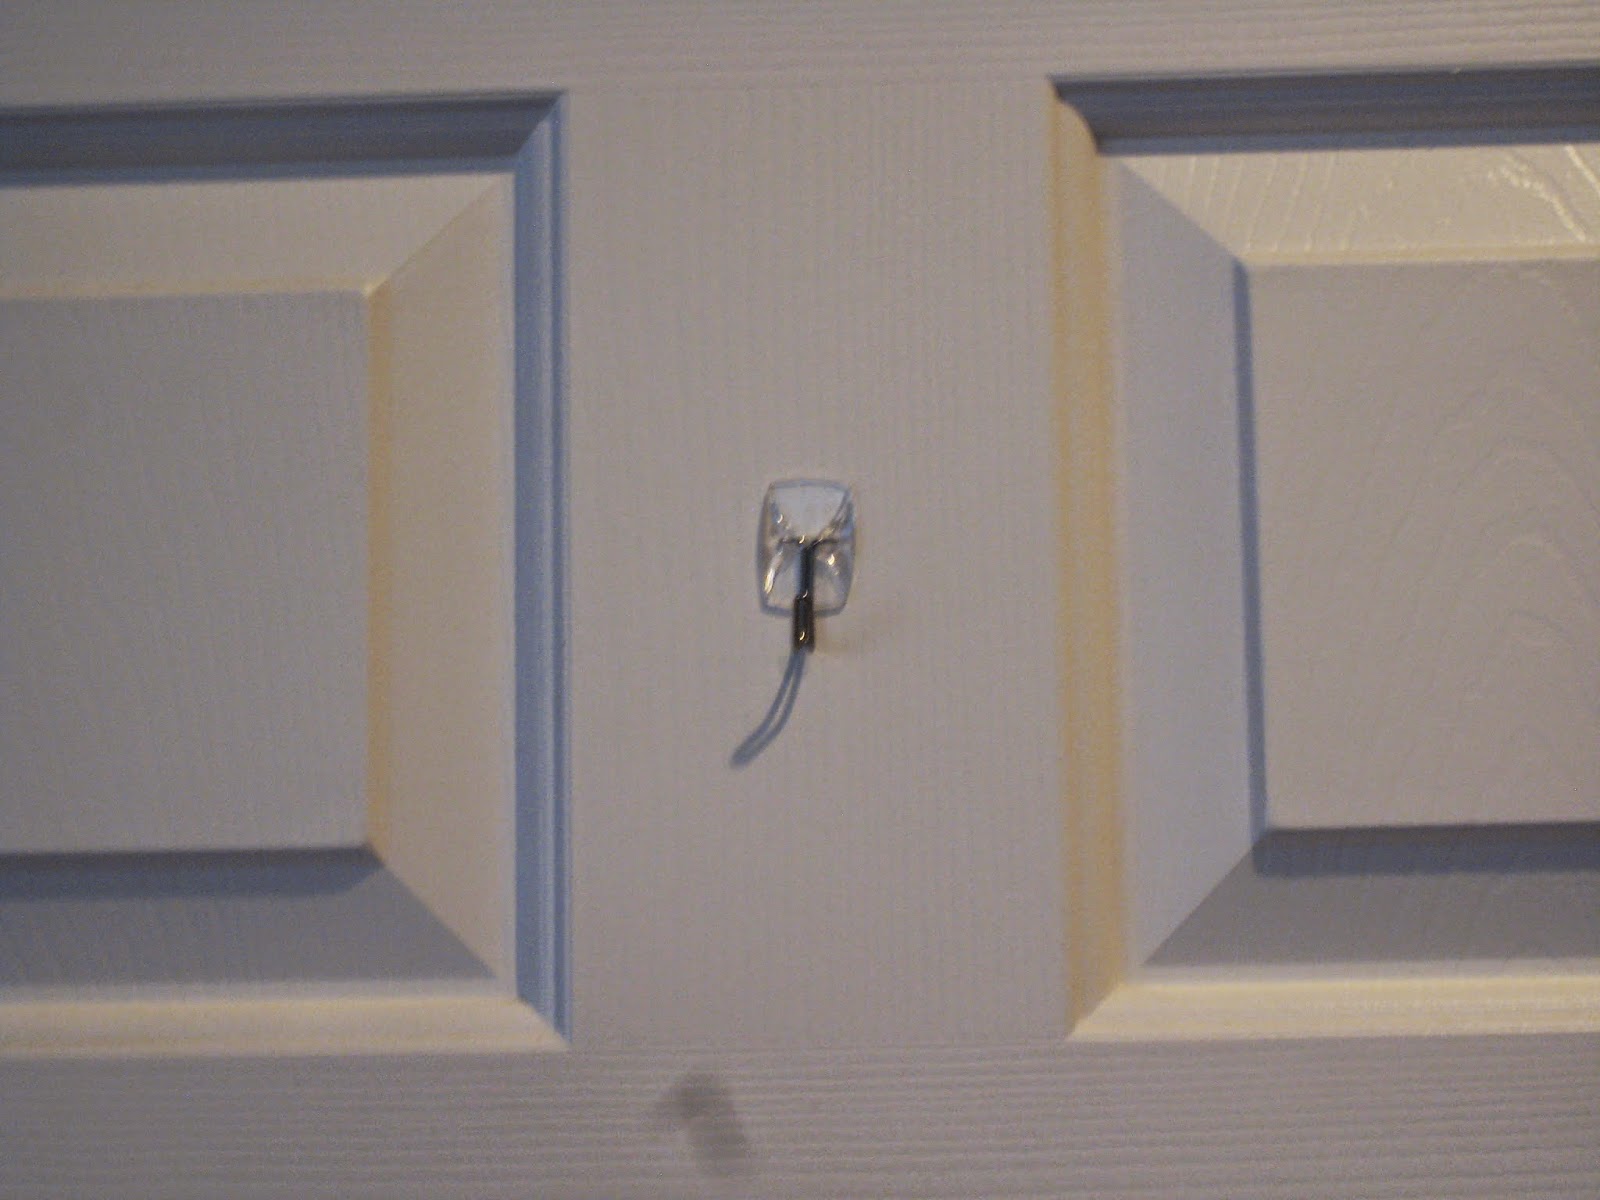
How to get off 3m Command Hooks with a broken pull tab...


Have you ever hung something up with those 3m Command Hook thingys because they look so easy to hang and to get off?  I use them all the time and they always go up quickly but every so often I fail at getting them off.  Actually, this happens a lot.  So much that my husband always reminds me that I am not allowed to take them off myself.  For some reason I always fail at pulling the tab straight down and the tab breaks on me.  I then have to wait for my husband to rip the thing off the wall for me.

Well this year for Christmas I used one my pantry door in the kitchen and of course I broke the tab and have been waiting for my hubby to get it off ever since.  It is now the beginning of the Easter season and that hook needs to come down.


I did a quick Pinterest search and I was in luck.  Of course every thing looks so easy and awesome on Pinterest so I quickly grabbed my supplies and got to work.


Pinterest told me to heat the hook up with a blow dryer then slide floss behind it and voila!  

I heated it for a few seconds then slid my floss between the hook and the door.  It was super easy and the hook came right off...only problem so did some of the paint. 


So if you need to do this, the hook will come off, but expect to do a little painting.

Wednesday, February 18, 2015

My Dorothy Draper Nightstand and Treasure Hunting Fun

How did I end up with this really cool Dorothy Draper nightstand?  By waking up early and going treasure hunting! Early bird gets the worm! ...and just being really lucky.


Dorothy Draper Nightstand
(please ignore the mattress without a bed, my room is under construction)

I absolutely love a good find.  You know that feeling when you have scored something so wonderful for such an amazing price? Well that feeling gets even better when you have to hunt for that special item.  I really really enjoy going to garage sales, estate sales, flea markets, in some cases others peoples garbage on the curb... If there's old stuff or quirky stuff that other people want to get rid of, I am there digging through it.  You never know what you might find.  Half the items in my house I purchased at normal stores, but the other half are treasures that I had to work for and was lucky enough to find.

A while back I was at an estate sale with my mom and she was on the hunt for a piece of furniture to store her drawing supplies in.  Everything in the house was pretty cool but very pricey so I was on my way back to the car in a hurry, but on the way out I walked past the casita which had a few items in it and no people.  I decided to take a little peek and noticed nothing was priced and that most people saw nothing was priced and turned right around and headed into the house.  I lingered longer than most and waited for my mom to join me because there were two pieces that I liked and thought she could use.  One was an old shabby chic butler's desk that needed some work and the other was this interesting nightstand.  I say it was interesting because it was made very well and I loved the hardware and the slate top, but it was the ugliest color ever.  Then when you opened it the inside was a hideous bright orange, but this was nothing a little paint couldn't fix and the design was great.  My mom and I were both thinking they would want a lot for both pieces, considering what they were charging for the other items inside the house, but it was free to ask so we did.  We brought the lady running the sale out to the casita and showed her the items and asked for a quote.  She said the family wanted a decent amount for the butler's desk but agreed that it needed work and brought the price down for us and the night stand was so cheap she was practically giving it away.  So I told my mom to buy both and see which she liked best and I would buy the other piece from her.

So of course she chose the butler's desk.  It was gorgeous and perfect for all her drawing supplies.  I took the nightstand and it worked out wonderfully because I needed one for the other side of my bed.  I decided to paint it with Annie Sloan Versailles to match my chair in my bedroom.  

Dorothy Draper Nightstand


Now I am the kind of girl that jumps both feet first into a project, I grab a brush or hammer and go.  Sooo...I'm painting away getting rid of the ugly beige and orange and I come across a stamp on the inside of one of the doors...Heritage.  Interested in this stamp I took a break and googled it.  At first I found nothing, after about an hour of searching I found it!  My exact nightstand and it was by Dorothy Draper!  The more I read and researched the more I realized I had the real deal and I was painting it...When I showed my husband a couple for sale online he almost died.  Yeah, yeah, yeah, I know.... Oh well, I had no intentions of selling it and it looks great in my bedroom and that's all that matters.

This past weekend it was gorgeous out and I hit a few estate sales with my friend and here is what I scored:


I love old books! and the suit cases came from a garage sale a couple years back...


Sewing machine drawers, there are so many possibilities for these..

Soon I am going to be selling some of my treasures...where?  No idea yet I am still working that out, but in order for me to keep up this treasure hunting habit and to keep my house from looking like I am a hoarder, I will have to be selling some of these items....I will keep you guys posted. 


Wednesday, February 4, 2015

Sprucing up my closet...

Ever since we moved into our house we have been slowly, very slowly... but surely turning it into a home we love and that reflects us.  Over the next couple months I will share with you what we have done so far.

I am going to start this house "tour" with the room I spend too much time in and is the most neglected, the master closet.  I decided it was about time I did something, anything, with my closet so I finally started working on it.

Here is what it looked like when we moved in...


Like all the other rooms in this house it was a sea of boring beige...

With this ugly florescent light...


On one side of the closet that you can't see there is a wall of shelves.  On the other wall there is nothing, which is kind of a waste.  

I want to spruce up this space with as small of a budget as possible.  My plan is to repaint, put in a new light, add shelves on the blank wall, and replace the carpet with wood that we had left over from downstairs.

So far there is a new light, which needs to be turned around so the seam is facing the other way, and the holes in the ceiling still need to be repaired...


I painted the whole closet SW 7005 Pure White...


...and I started a little project I have been wanting to do somewhere in my house.  For a couple years I have seen these gorgeous pictures of ceilings and walls covered with beautiful metallic papers.  After alot of research I learned some people apply metallic papers square by square and some use wall paper to get the look.

(picture from House Beautiful)

Well the wall paper was too expensive and would kill my budget, and the I decided against doing the ceiling because it would kill my back....so I decided to do my own smaller version.

I purchased some pretty gold paper from Paper Source and some wallpaper paste from Sherwin Williams.  


I cut the paper into various rectangles and squares...


...then carefully painted the paste onto the back.


I started placing the squares on the both ends of the shelf working my way towards the middle, over lapping them in a random pattern to give a patch work look.

Gold Closet Shelves

I want to cover the back of every shelf on this unit and the one I want to build in the future.  So far I am LOVING the way it looks and I think my shoes look so happy in front of the gold. 

 gold Closet Shelves

 Hopefully in the next few weeks I will get the new shelves in and the new floor down.  Fingers crossed!