Monday, February 23, 2015

My Doggie Cupcake Recipe

Today is my boys' 6th birthday and when I say " my boys' " I am referring to my furry children Morty and Leo.  These little guys are quite the handful and have gotten in more trouble than I care to remember, but my life would not be as wonderful without them.

Every year I give them a special treat on their special day which I normally buy.  This year I wanted to bake them something myself so I can control what the ingredients are.  I read a few different recipes for dog treats and cakes and did a little research on what they can and can't have and here is what I came up with...


Doggie Cupcakes

1 egg
1/4 cup peanut butter
1/4 cup coconut oil
1 teaspoon vanilla 
1/3 cup raw honey
1 cup finely chopped carrots
1 cup whole wheat flour
1 teaspoon baking soda
4 Paper baking cups or 8 cupcake liners

Glaze/Frosting

1/2 teaspoon raw honey
1 tablespoon peanut butter
1 egg yolk

  • Preheat oven to 350 degrees F.
  • Combine peanut butter, oil, vanilla, and honey in a large bowl.  These ingredients especially the peanut butter and oil may be close to solid depending on their temperature so pop them into the microwave for a few seconds.  
  • Add the egg and blend. 
  • Chop or shred the carrots, I put mine in a food processor to get them very small then stir into the mixture thoroughly. 
  • Fold in the flour and baking soda.  
  • Spoon batter into paper baking cups or cupcake liners.  They will rise slightly so don't fill all the way to the top.  I used paper baking cups which are about double the size of average cupcake liners.  I was able to get 4 cups with just a tiny left over with this recipe.  
  • Bake in preheated oven for 20 - 30 minutes, depending how big your cupcakes are.
  • Whisk glaze ingredients together in a small bowl.  If they are too solid just heat in microwave for a few seconds, then continue whisking.
  • When there is only a few minutes to go spread the glaze on top and then finish baking.
  • Let cool for at least 10 minutes.
  • Once cooled the glaze will be firm and have a nice shine to it.  

I have to say these cupcakes smell delicious and they definitely passed my doggies taste test.

Happy Birthday Boys! 


Thursday, February 19, 2015

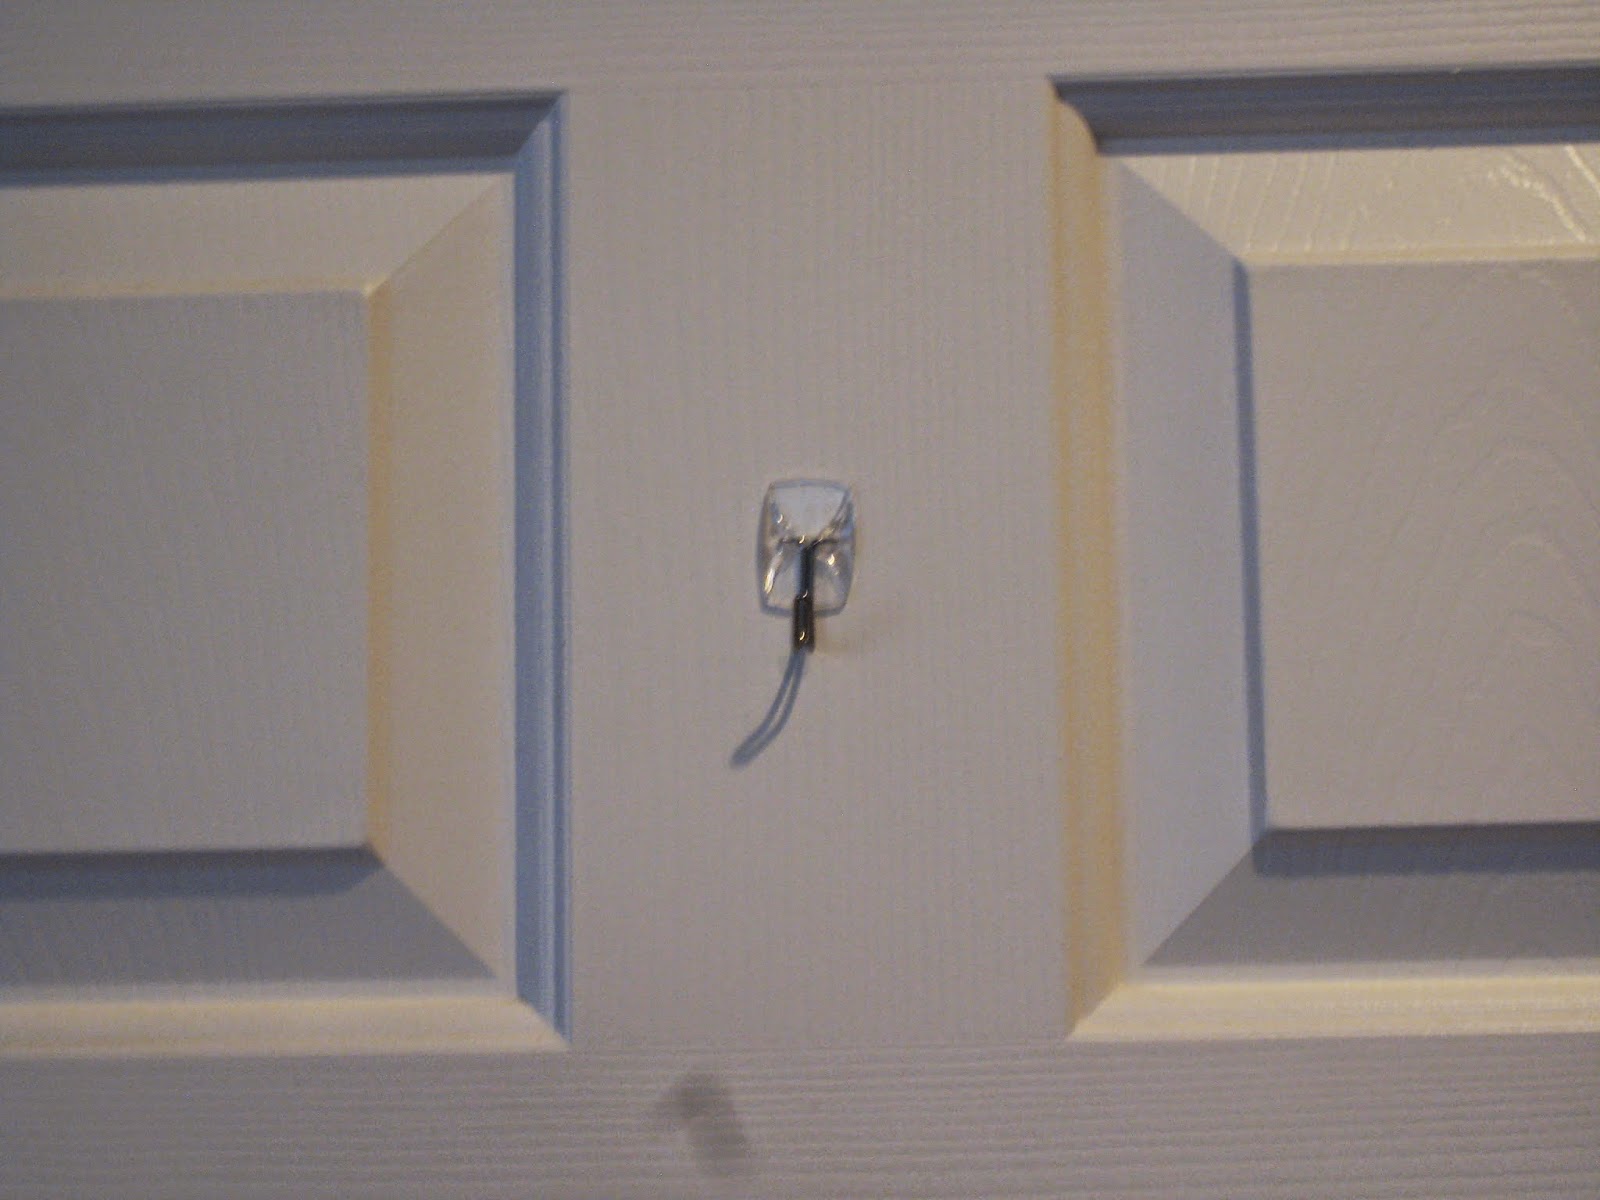
How to get off 3m Command Hooks with a broken pull tab...


Have you ever hung something up with those 3m Command Hook thingys because they look so easy to hang and to get off?  I use them all the time and they always go up quickly but every so often I fail at getting them off.  Actually, this happens a lot.  So much that my husband always reminds me that I am not allowed to take them off myself.  For some reason I always fail at pulling the tab straight down and the tab breaks on me.  I then have to wait for my husband to rip the thing off the wall for me.

Well this year for Christmas I used one my pantry door in the kitchen and of course I broke the tab and have been waiting for my hubby to get it off ever since.  It is now the beginning of the Easter season and that hook needs to come down.


I did a quick Pinterest search and I was in luck.  Of course every thing looks so easy and awesome on Pinterest so I quickly grabbed my supplies and got to work.


Pinterest told me to heat the hook up with a blow dryer then slide floss behind it and voila!  

I heated it for a few seconds then slid my floss between the hook and the door.  It was super easy and the hook came right off...only problem so did some of the paint. 


So if you need to do this, the hook will come off, but expect to do a little painting.

Wednesday, February 18, 2015

My Dorothy Draper Nightstand and Treasure Hunting Fun

How did I end up with this really cool Dorothy Draper nightstand?  By waking up early and going treasure hunting! Early bird gets the worm! ...and just being really lucky.


Dorothy Draper Nightstand
(please ignore the mattress without a bed, my room is under construction)

I absolutely love a good find.  You know that feeling when you have scored something so wonderful for such an amazing price? Well that feeling gets even better when you have to hunt for that special item.  I really really enjoy going to garage sales, estate sales, flea markets, in some cases others peoples garbage on the curb... If there's old stuff or quirky stuff that other people want to get rid of, I am there digging through it.  You never know what you might find.  Half the items in my house I purchased at normal stores, but the other half are treasures that I had to work for and was lucky enough to find.

A while back I was at an estate sale with my mom and she was on the hunt for a piece of furniture to store her drawing supplies in.  Everything in the house was pretty cool but very pricey so I was on my way back to the car in a hurry, but on the way out I walked past the casita which had a few items in it and no people.  I decided to take a little peek and noticed nothing was priced and that most people saw nothing was priced and turned right around and headed into the house.  I lingered longer than most and waited for my mom to join me because there were two pieces that I liked and thought she could use.  One was an old shabby chic butler's desk that needed some work and the other was this interesting nightstand.  I say it was interesting because it was made very well and I loved the hardware and the slate top, but it was the ugliest color ever.  Then when you opened it the inside was a hideous bright orange, but this was nothing a little paint couldn't fix and the design was great.  My mom and I were both thinking they would want a lot for both pieces, considering what they were charging for the other items inside the house, but it was free to ask so we did.  We brought the lady running the sale out to the casita and showed her the items and asked for a quote.  She said the family wanted a decent amount for the butler's desk but agreed that it needed work and brought the price down for us and the night stand was so cheap she was practically giving it away.  So I told my mom to buy both and see which she liked best and I would buy the other piece from her.

So of course she chose the butler's desk.  It was gorgeous and perfect for all her drawing supplies.  I took the nightstand and it worked out wonderfully because I needed one for the other side of my bed.  I decided to paint it with Annie Sloan Versailles to match my chair in my bedroom.  

Dorothy Draper Nightstand


Now I am the kind of girl that jumps both feet first into a project, I grab a brush or hammer and go.  Sooo...I'm painting away getting rid of the ugly beige and orange and I come across a stamp on the inside of one of the doors...Heritage.  Interested in this stamp I took a break and googled it.  At first I found nothing, after about an hour of searching I found it!  My exact nightstand and it was by Dorothy Draper!  The more I read and researched the more I realized I had the real deal and I was painting it...When I showed my husband a couple for sale online he almost died.  Yeah, yeah, yeah, I know.... Oh well, I had no intentions of selling it and it looks great in my bedroom and that's all that matters.

This past weekend it was gorgeous out and I hit a few estate sales with my friend and here is what I scored:


I love old books! and the suit cases came from a garage sale a couple years back...


Sewing machine drawers, there are so many possibilities for these..

Soon I am going to be selling some of my treasures...where?  No idea yet I am still working that out, but in order for me to keep up this treasure hunting habit and to keep my house from looking like I am a hoarder, I will have to be selling some of these items....I will keep you guys posted. 


Wednesday, February 11, 2015

TWG Tea and Banana Oatmeal Cookies

This week I have a couple new teas to share and I tried a pretty tasty, healthy cookie recipe...

The Mr. occasionally travels for work and lately he's been going to Hong Kong and Macau.  The Mr. shares my love for tea.  So while he was there right before Christmas he sat down to a Holiday Afternoon Tea, and boy was I jealous.  I wish I could have been there.  Here are a couple pictures he took, they even served sipping chocolate with the tea.


On his most recent trip he brought me home some TWG Tea.  The two tea flavors he brought back were Tea Party and Moments Tea.  I had my mom over today to try them and the banana oatmeal cookies I made.


Tea Party is from their Haute Couture Tea Collection, which means what? Its extra fancy and they can charge more?  It's a black tea infused with candied sweetness and bright yellow blossoms.  Not much of a description for such a fancy tea, I think the bright yellow blossoms are Marigolds, as I have seen those in other teas before,  but not sure what else is in it.  It is very tasty though and has a sweetness to it.  It definitely reminds you of a tea party and the yummy goodies served.  

The Moments Tea is a special tea created exclusively for the Sheraton Macau Hotel and is a mix of green and black tea with sweet flower blossoms and ripe tropical mango.  Again I am left wondering exactly what's in it, but the smell is very intense and it is very tropical and fruity.  They are both delicious but I think I prefer the Moments Tea.  

Now on to the other yummy part of this post, the cookies!  I have to start off by saying these cookies are pretty simple and healthy so don't expect them to taste just like oatmeal cookies.  My mom had in her mind that she was having oatmeal cookies so she was quite surprised when she took her first bite.  We both agreed these were tasty but would be even yummier with chocolate chips, but then that is adding more sugar.  She even had the great suggestion of turning these into bars to take with you for a snack instead of buying granola bars.  

I found these cookies on pinterst which led me the blog The Burlap Bag.  Her site has the full recipe with other great ideas.  I tweaked the recipe a bit and used Strawberry Shortcake Oatmeal instead of quick oats and it turned out great.

All these cookies have in them is 2 bananas and 1 cup of oatmeal.  Smash everything together and bake at 350 for 15 minutes on parchment paper.


They could not be any easier and I don't feel guilty about sitting down and eating 3 at one time.  I think tomorrow I will make another batch but this time with chocolate chips, just a few won't hurt right? 


Wednesday, February 4, 2015

Sprucing up my closet...

Ever since we moved into our house we have been slowly, very slowly... but surely turning it into a home we love and that reflects us.  Over the next couple months I will share with you what we have done so far.

I am going to start this house "tour" with the room I spend too much time in and is the most neglected, the master closet.  I decided it was about time I did something, anything, with my closet so I finally started working on it.

Here is what it looked like when we moved in...


Like all the other rooms in this house it was a sea of boring beige...

With this ugly florescent light...


On one side of the closet that you can't see there is a wall of shelves.  On the other wall there is nothing, which is kind of a waste.  

I want to spruce up this space with as small of a budget as possible.  My plan is to repaint, put in a new light, add shelves on the blank wall, and replace the carpet with wood that we had left over from downstairs.

So far there is a new light, which needs to be turned around so the seam is facing the other way, and the holes in the ceiling still need to be repaired...


I painted the whole closet SW 7005 Pure White...


...and I started a little project I have been wanting to do somewhere in my house.  For a couple years I have seen these gorgeous pictures of ceilings and walls covered with beautiful metallic papers.  After alot of research I learned some people apply metallic papers square by square and some use wall paper to get the look.

(picture from House Beautiful)

Well the wall paper was too expensive and would kill my budget, and the I decided against doing the ceiling because it would kill my back....so I decided to do my own smaller version.

I purchased some pretty gold paper from Paper Source and some wallpaper paste from Sherwin Williams.  


I cut the paper into various rectangles and squares...


...then carefully painted the paste onto the back.


I started placing the squares on the both ends of the shelf working my way towards the middle, over lapping them in a random pattern to give a patch work look.

Gold Closet Shelves

I want to cover the back of every shelf on this unit and the one I want to build in the future.  So far I am LOVING the way it looks and I think my shoes look so happy in front of the gold. 

 gold Closet Shelves

 Hopefully in the next few weeks I will get the new shelves in and the new floor down.  Fingers crossed! 


Tuesday, February 3, 2015

How to and how not to wash your canvas Sperrys.

The Mr's canvas Sperrys are couple years old and have seen better days.  He apparently agreed and wore them while working on his car.  Needless to say he got grease on them.

I was not ready to give in just yet and buy new ones so I searched the land of ideas, pinterest.  I found several tutorials that ranged from throwing them in the washing machine to hand scrubbing them.  I decided to do my own combination and here's what worked and what didn't...


I filled the sink up with COLD water and added a little Seventh Generation laundry detergent.  I emphasis COLD because you don't want any part of your shoe shrinking.  


I used a combination of Seventh Generation dish soap and Seventh Generation stain remover to treat the grease stain.  I then used an old tooth brush to scrub that spot and gently scrub the rest of the shoes. 


Everyone online says to take out the laces to wash them separately, but honestly I'm pretty sure I would not be able to lace them up again if I did, so in they stayed.  I just sprayed them with the stain remover and scrubbed them with the tooth brush. 


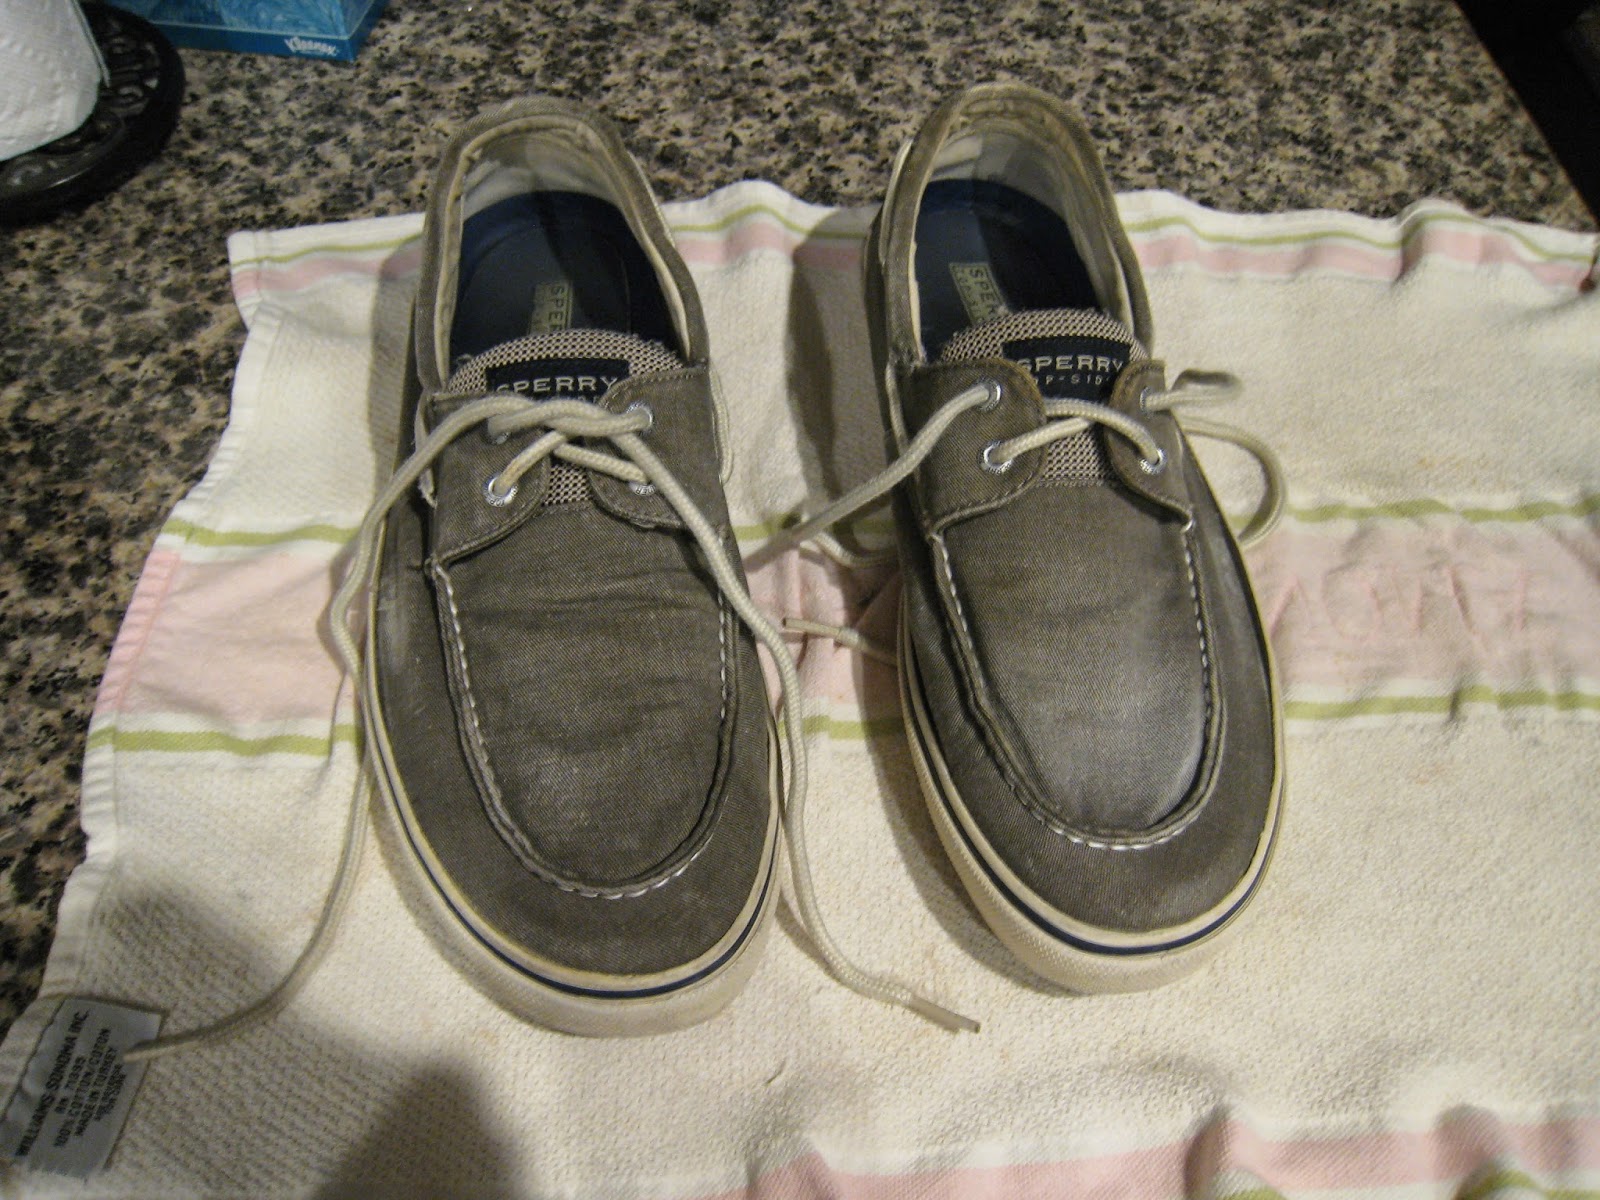
Once I was done scrubbing, I rinsed them under the faucet and put them on a towel to dry.  That's one thing every tutorial agreed with, do NOT put them in the dryer, let them air dry.  I then stuffed the toes with paper towels so they would keep their shape while drying.


Ewww they were soo dirty...


Now here's the part that wasn't so good....

Once they dried there were noticeable whitish spots.  It seems the places I scrubbed the hardest, like where the grease stain was, were much lighter now.  I scrubbed the color right off!  There were also some areas on the sides that were lighter too.  These seem to be the spots that had the most wear and tear on them and when the dirt came off well that was it, there was no color left underneath.  


So if I had to do this again, I would not do any scrubbing, or at least very light scrubbing..the tooth brush was a bad idea.  Lesson learned and now they are just really worn, but really clean weekend/work shoes.